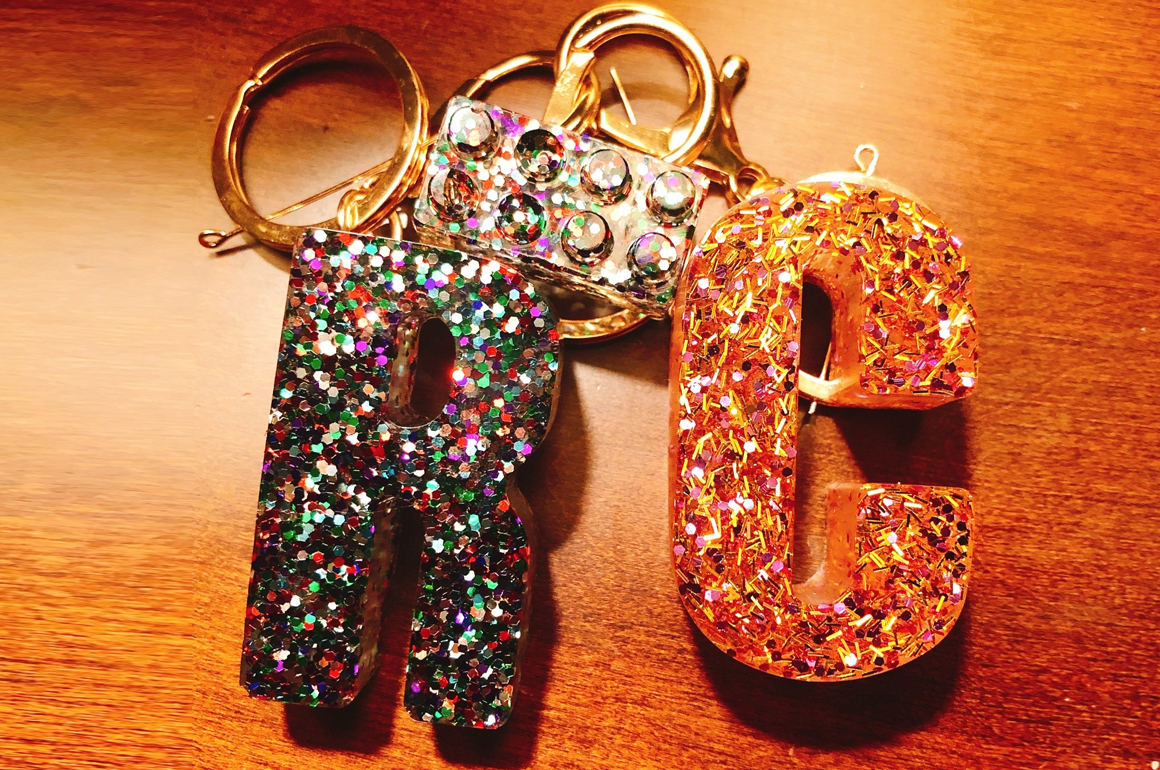

Creating is fun for me but doing so with kiddos is a lesson in patience. My daughter is always game to craft and thinks she can do all the things that I do, like use an exacto knife or the hot glue gun. These are all big NO’s. Then there’s my son – crafting isn’t his jam, so when I involve him the craft has to be interesting, simple and quick.
I was browsing Etsy one day and happened up on the cutest keychains and thought the kids and I could easily do this. My kids’ backpacks are adorned with all sorts of keychains. They are like the Mr. T of tweens with those keychains clanking and swinging from their bags.
Both were excited to help (and use glitter) and there was nothing dangerous involved. Score!
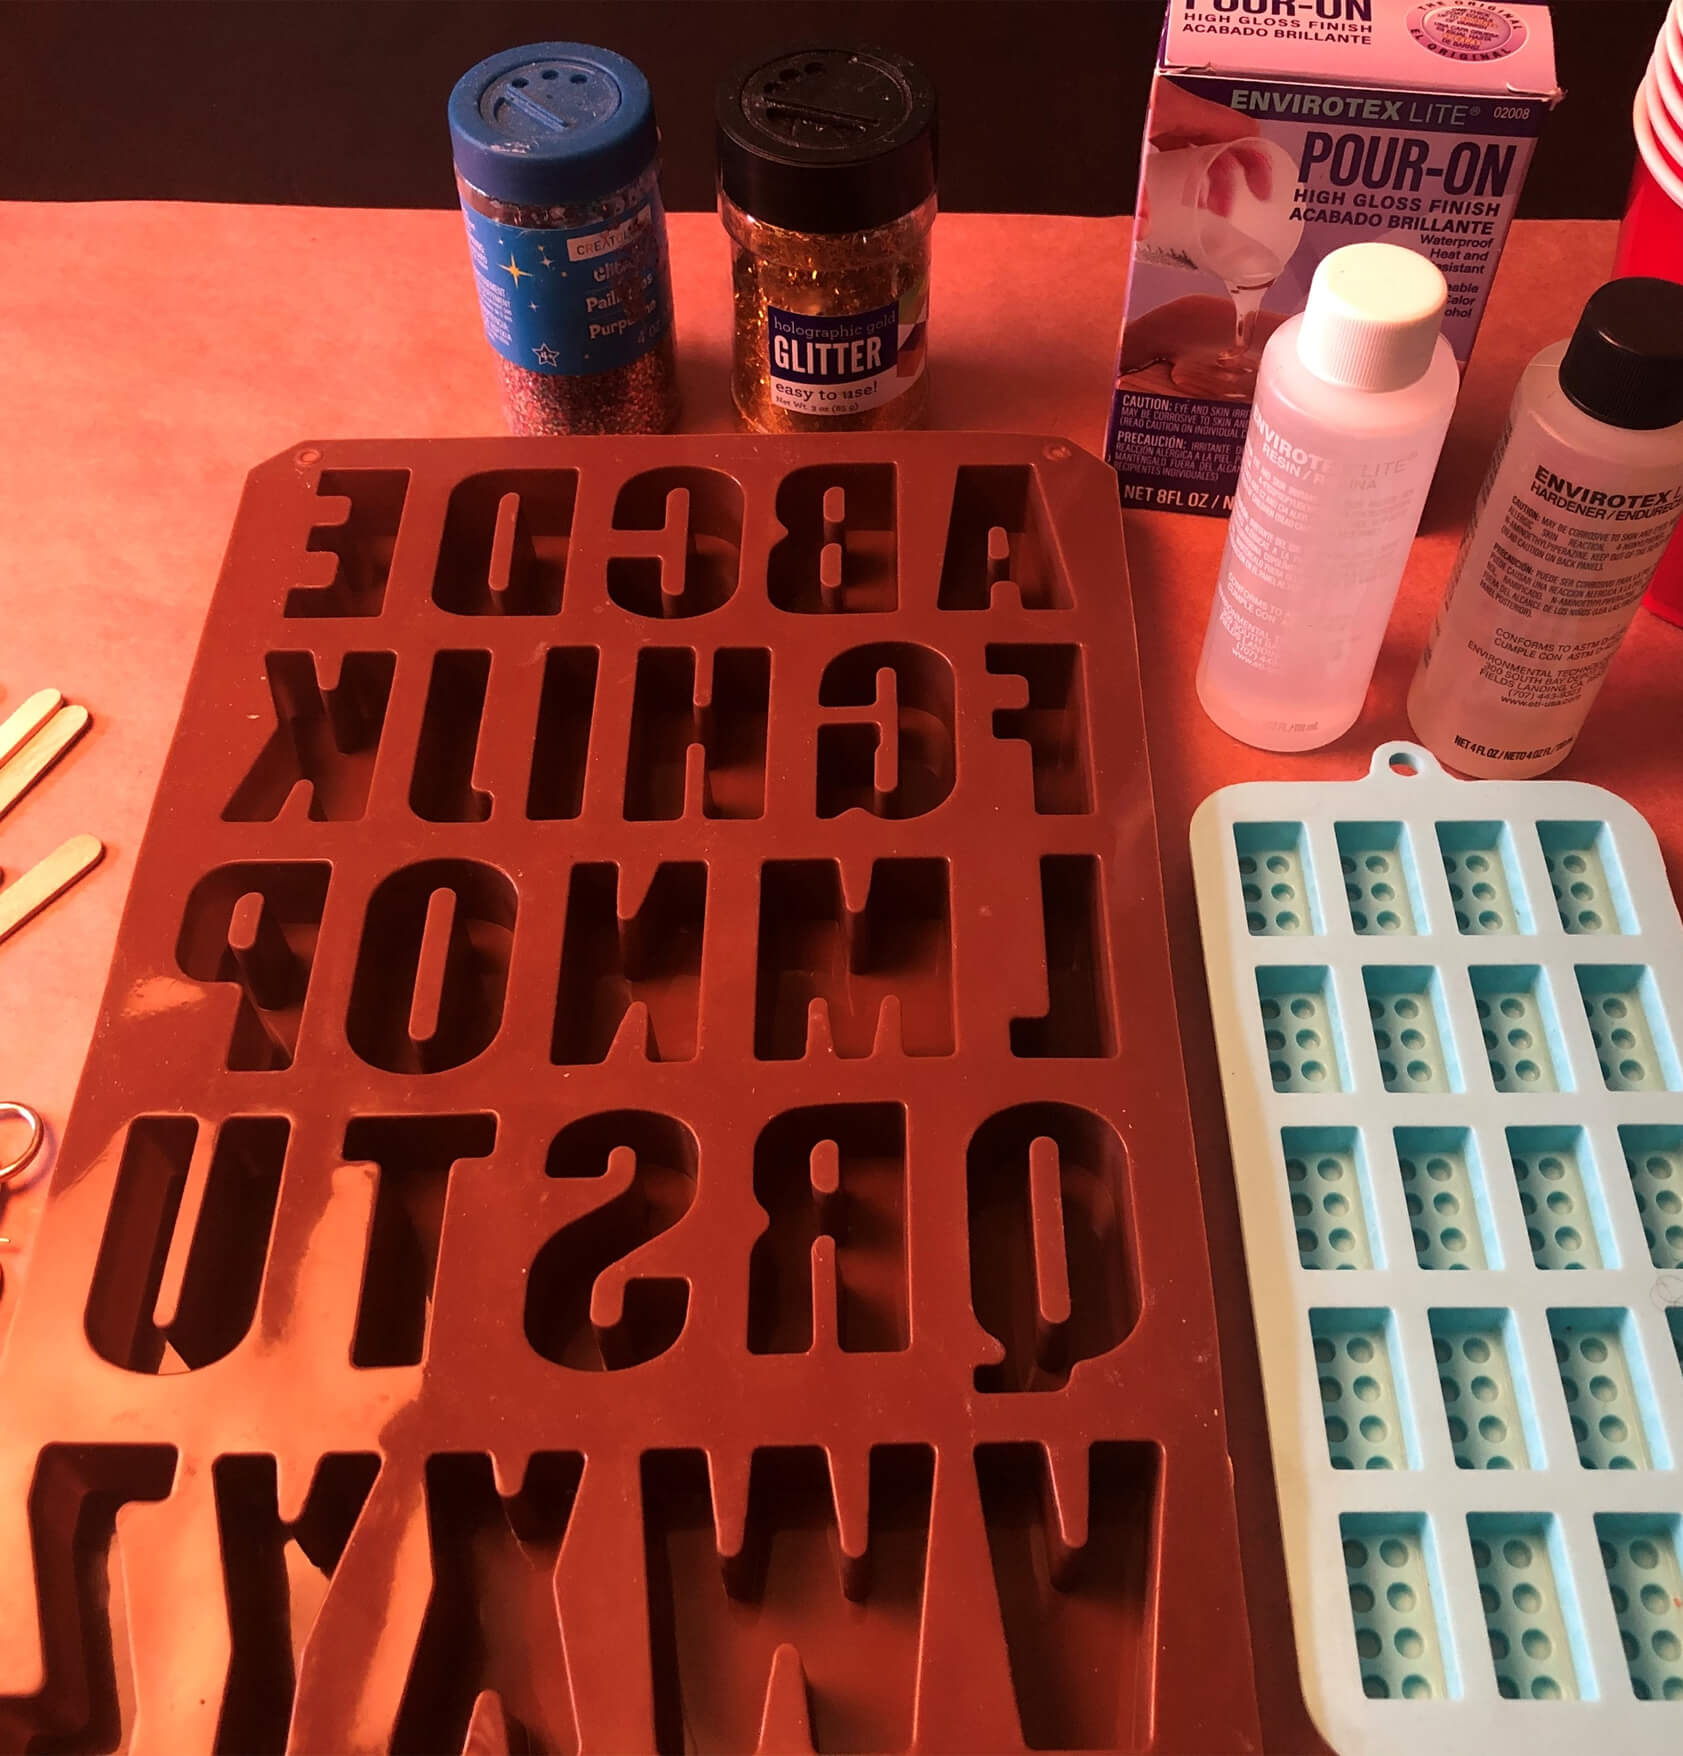
Here’s what you’ll need
- Resin mix (Depending on which size/brand you buy, it may come with cups and stirrers. I bought a small mix that didn’t come with the extra tools, because I didn’t know how I was going to like it. I wish I had gotten a larger size with everything included.
- Plastic cups – 2 for the resin mix, and 1 for each color that you will use
- Stirrers
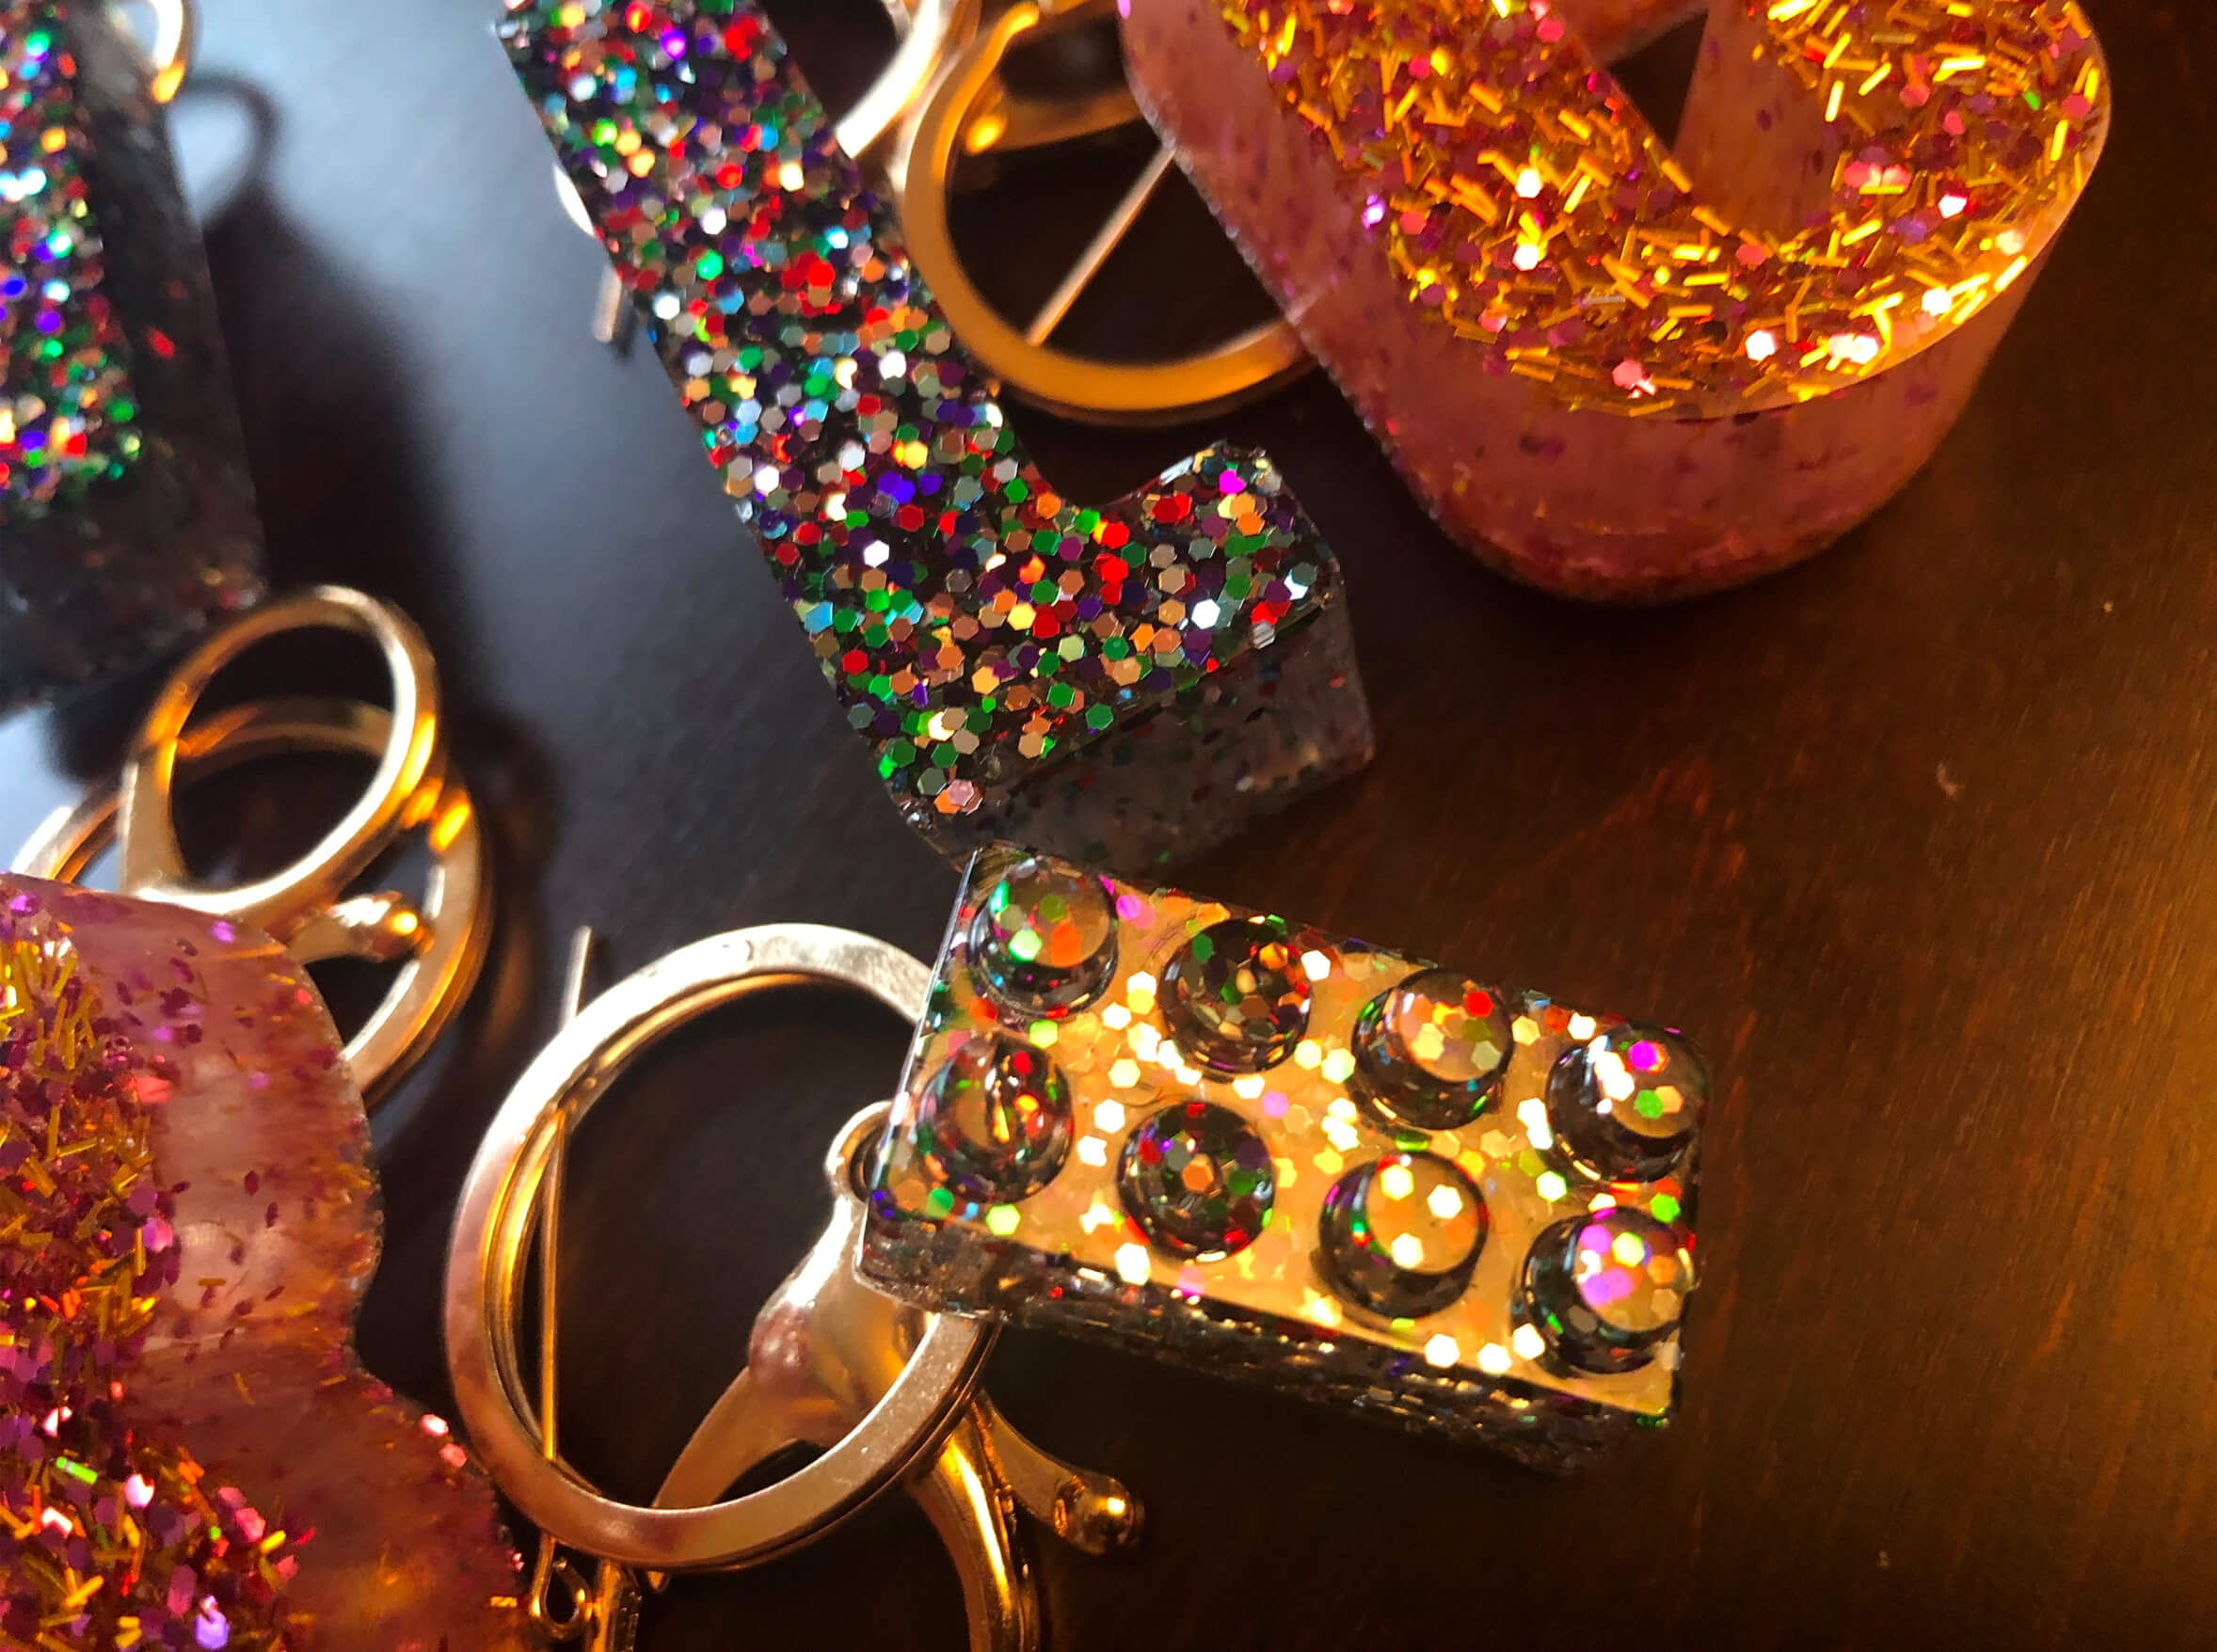
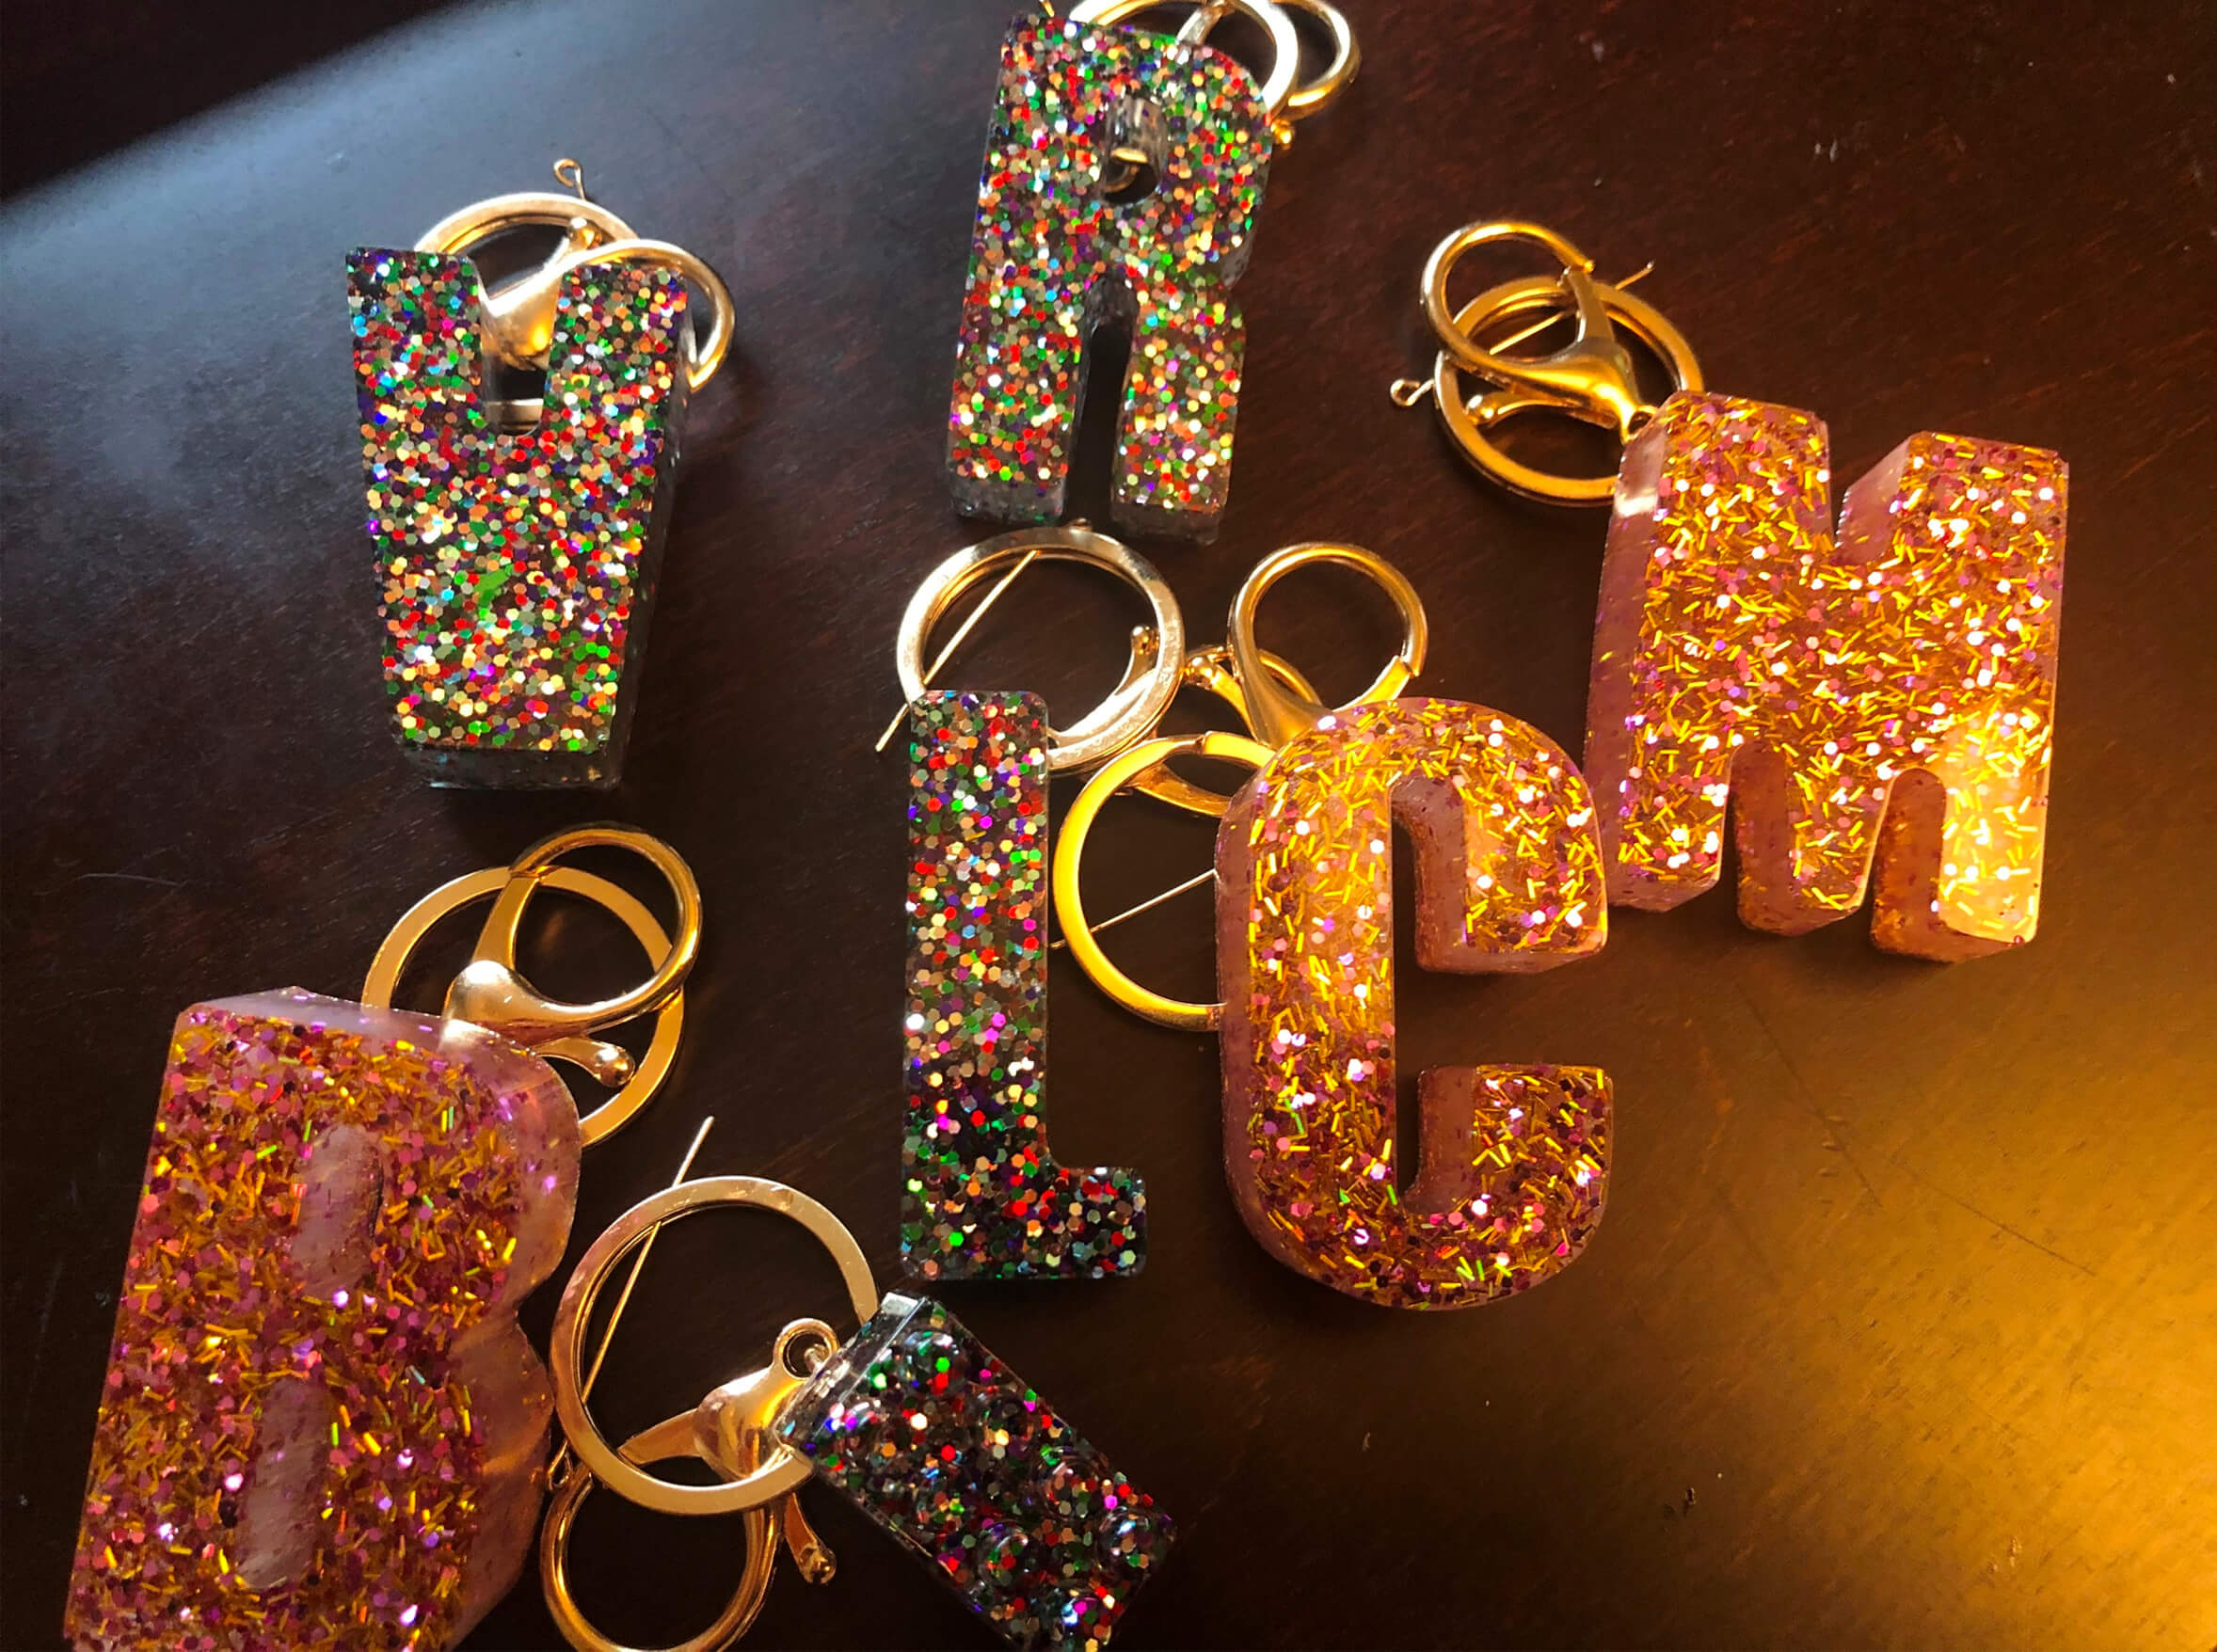
- Silicone molds (We used bricks and letters.)
- Keychains (There are a ton of options. We used gold ones with a lobster claw.)
- Glitter
You’re Ready to Make Em
1.
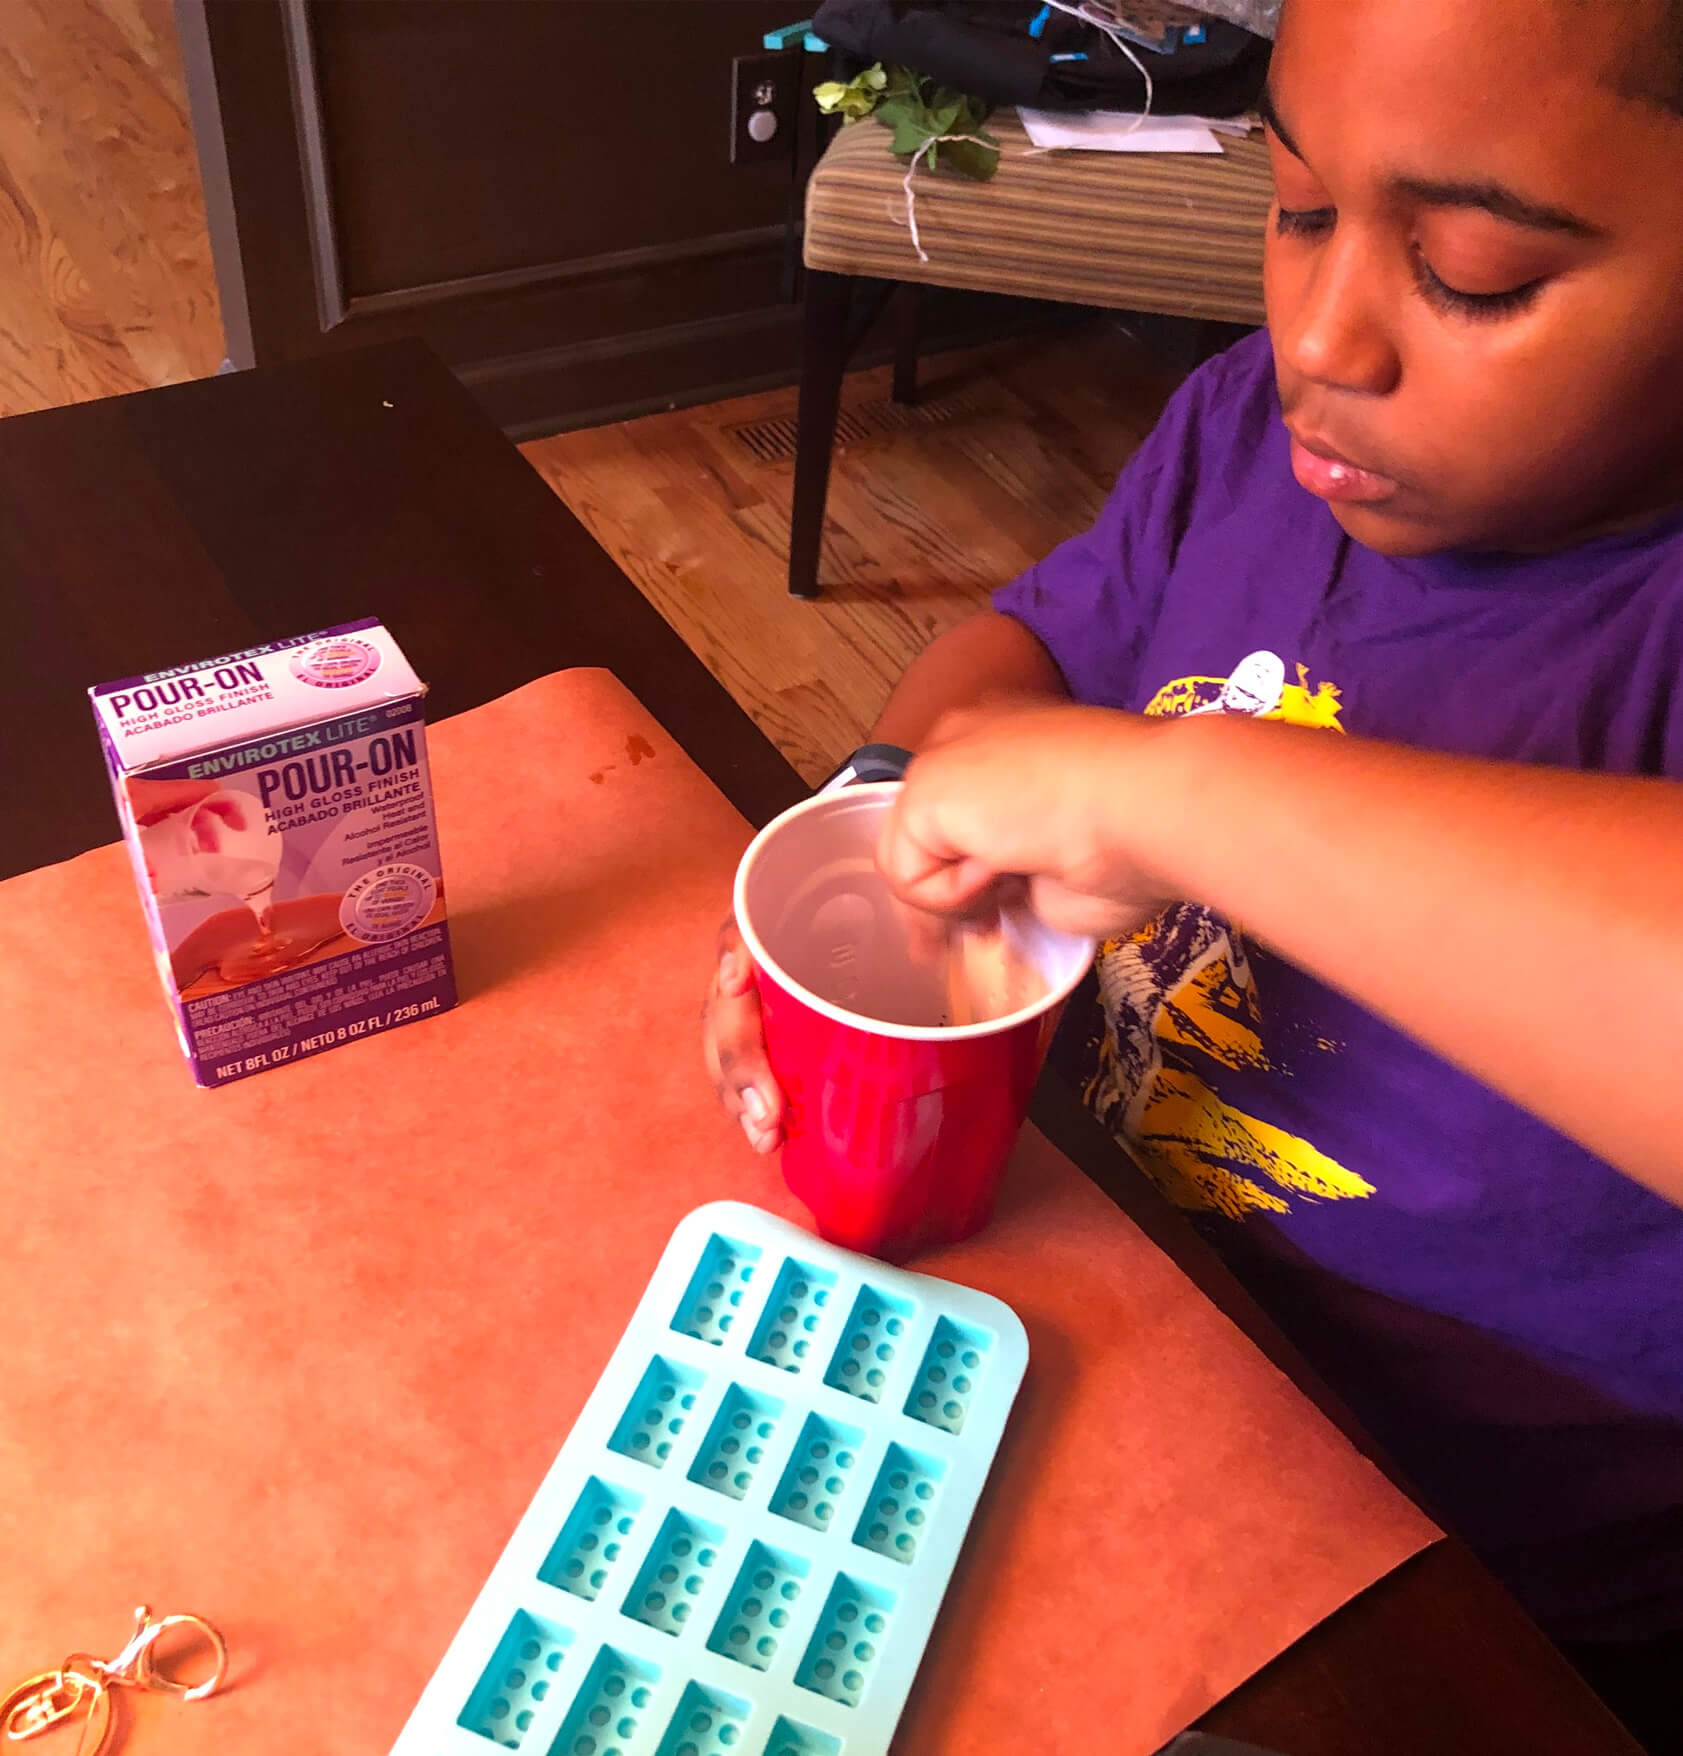
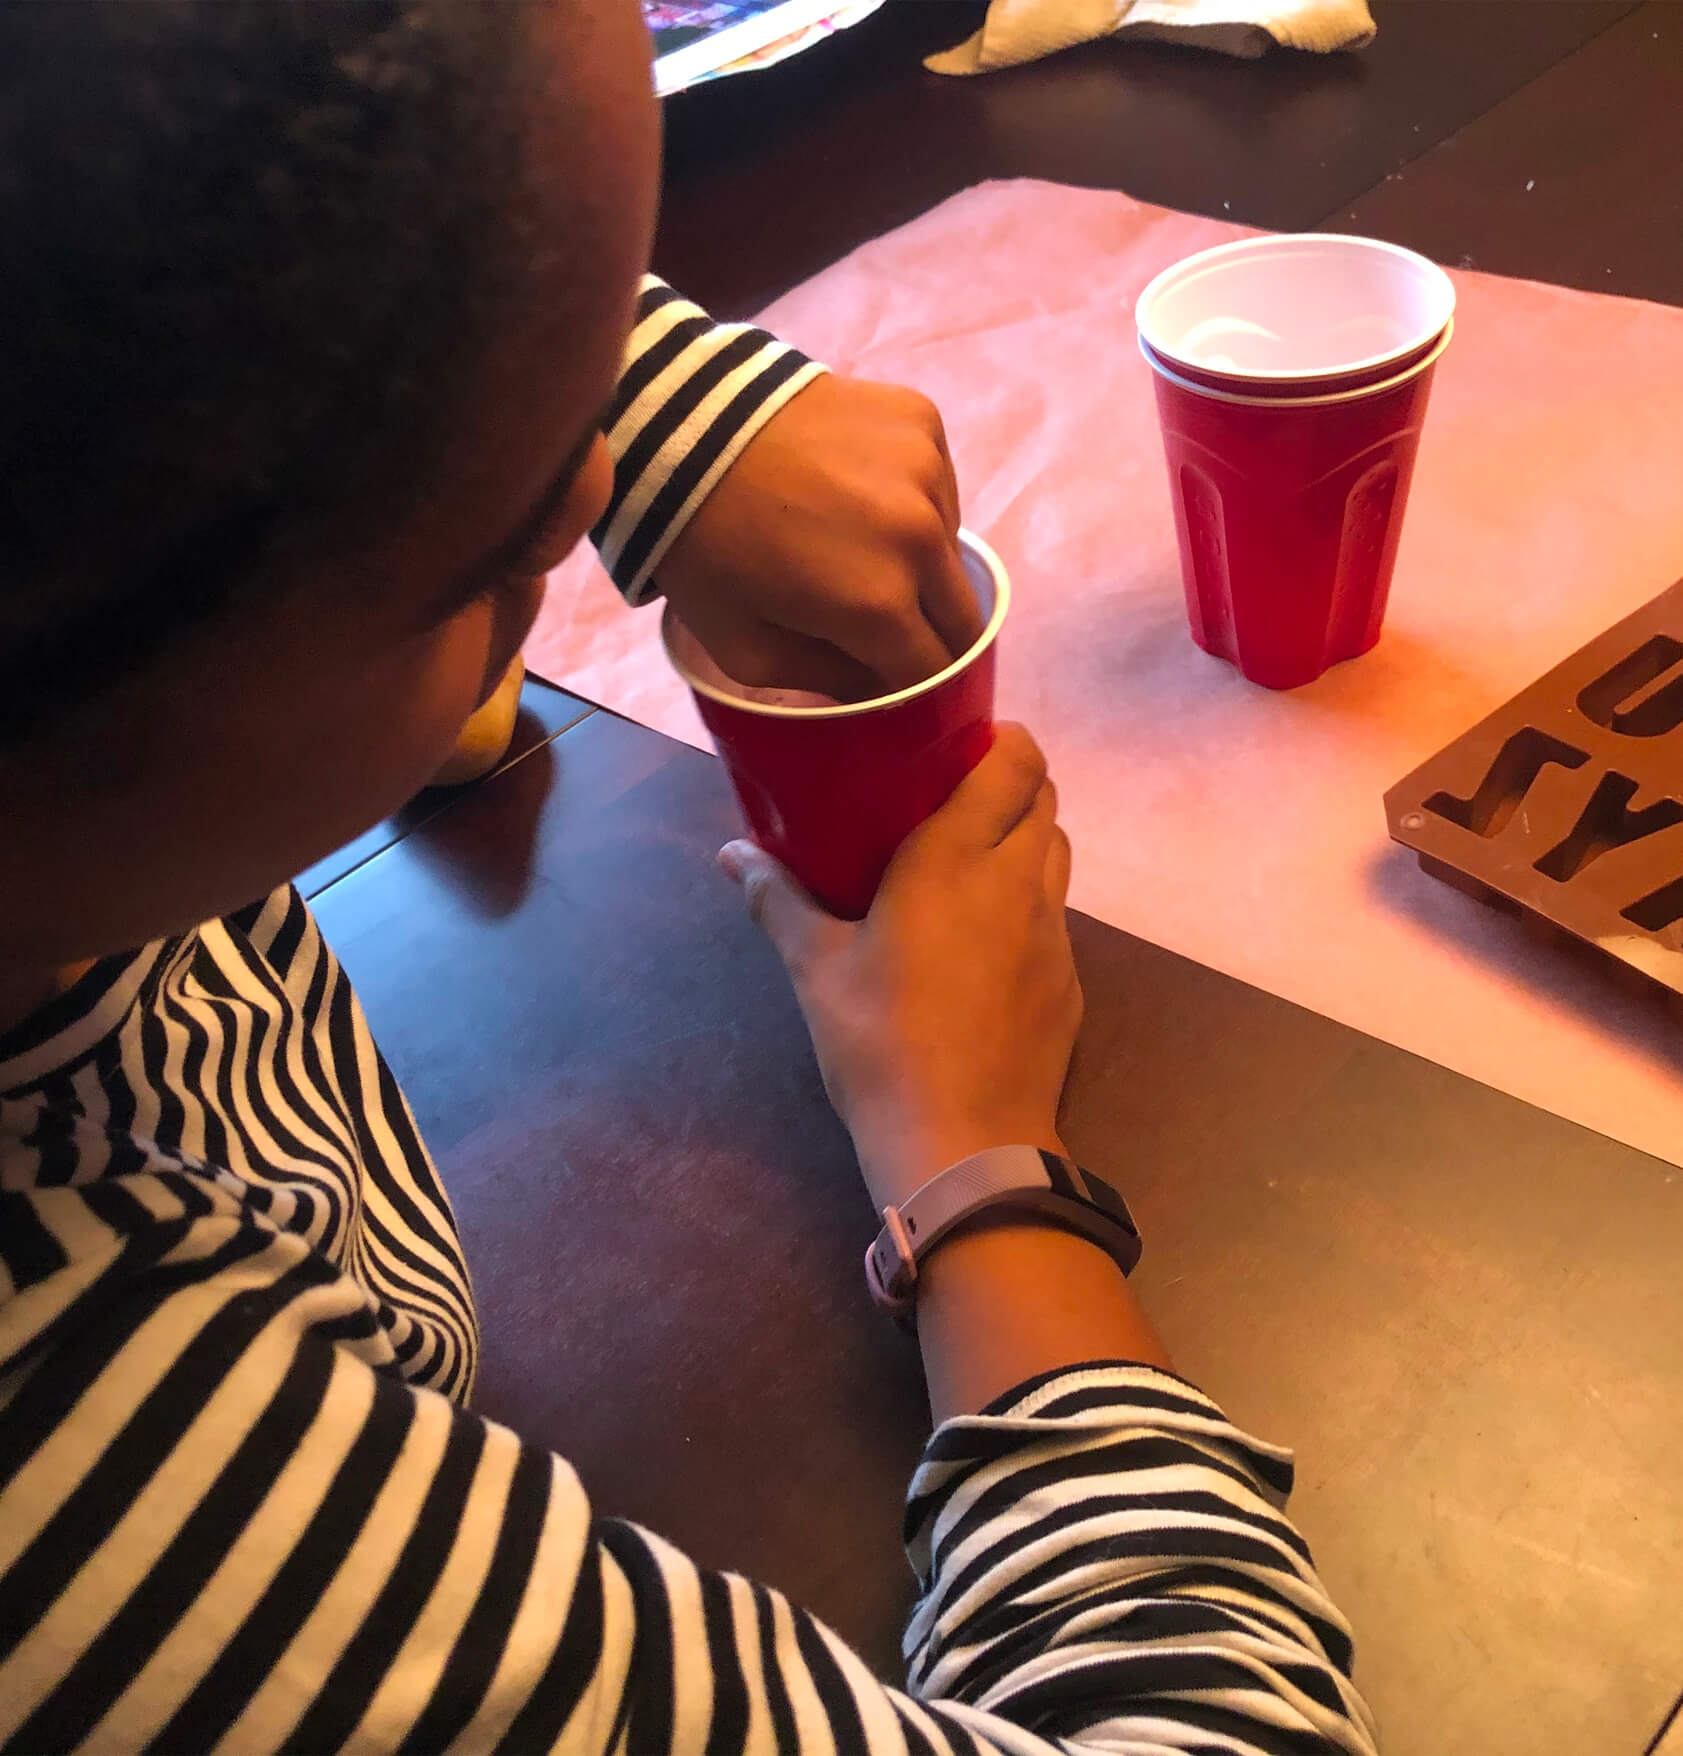
Follow the exact directions on the box of resin mix. The mix I used called for equal parts resin and a catalyst but made specific mention not to dump each container into a cup because the measurements might be slightly off. So I measured first then mixed together. I stirred this concoction for two minutes – wear your fitness tracker.
2.
After you’ve mixed the resin and strengthened your muscles, you have to move fast. This is when you need to separate the mix into different cups if you intend to use different colors.
3.
Once you’ve divided the resin the way you want, add glitter to each of your mixtures and stir.
4.
Pour your glitterfied mixture into your molds. I used a lot, which is what my letters are thick – the more resin you pour in, the thicker your item will be. So do what feels good to you – filling halfway is a good start.
5.
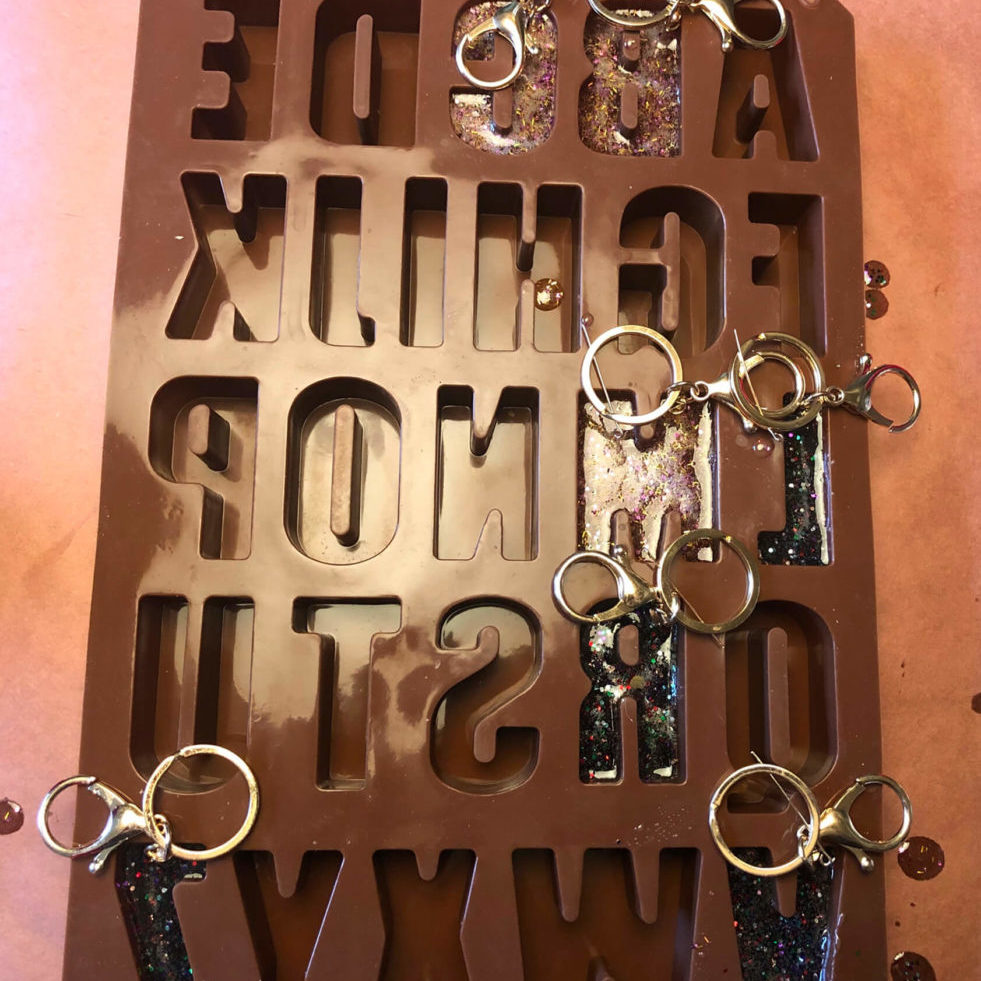
This is where things got tricky for me. I stuck the connector portion of my keychain into the wet resin, using care to make sure the actual keychain claw and ring didn’t get into the mix. The trick is to make sure the portion you put into the resin doesn’t sink to the bottom and go through the other side. So just sort of prop it on the sides of the unused molds. See the pic.
6.
Gently blow your molds to remove any excess air bubbles that may have accumulated. Don’t go crazy here.
7.
Now, walk away and leave this alone for 24 hours. (And make sure your kids don’t go poking their little fingers in there.)
8.
After 24 hours, you should be able to pop your creations out of the molds.
9.
Pat yourself on the back and do the Beyonce oh-oh dance. Cuz you’re da bomb! .


Leave a Comment